
やるべきことは次の5つ。
1. 言語パックのダウンロードとインストール
1. Control Panel を開きます。
※参考:「コントロールパネル」の開き方
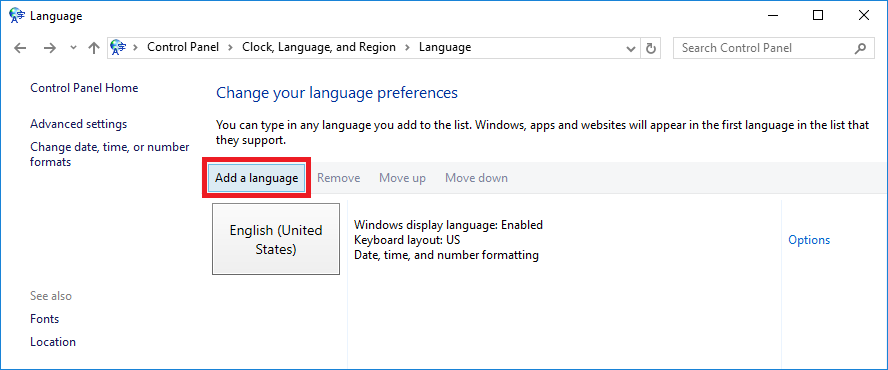
2.「Clock, Language, and Region」 → 「Language」を開きます。
3. 「Add a language」をクリックする。
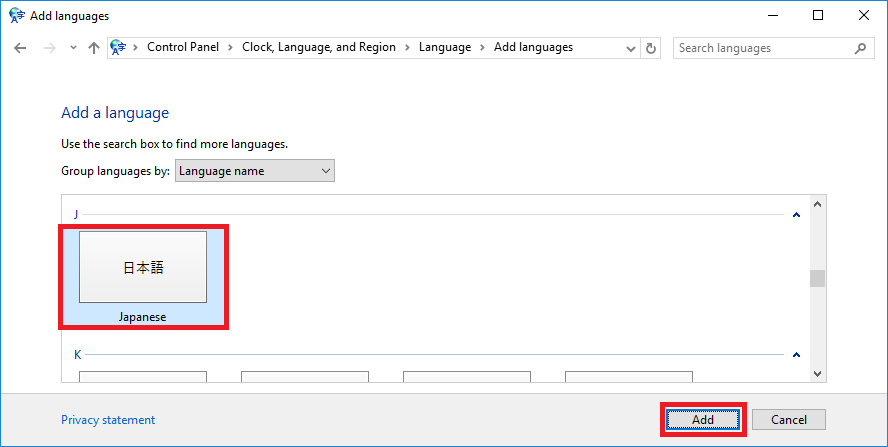
4. 「日本語」を選択して「Add」をクリックする。
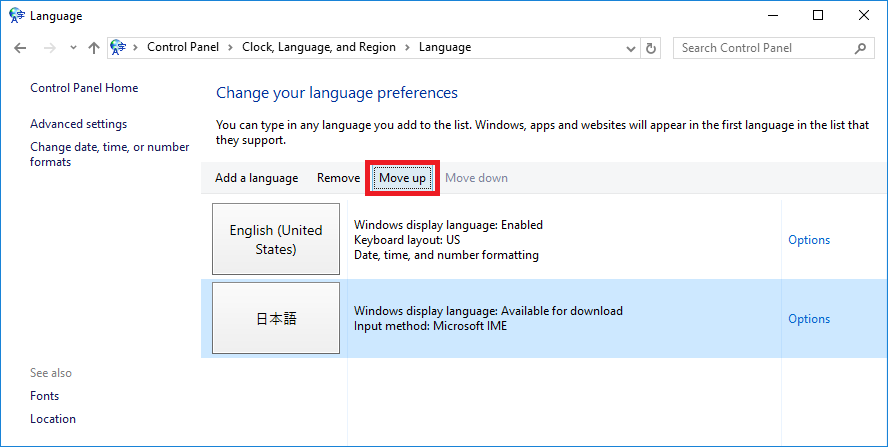
5. 「日本語」を選択して「Move up」をクリックする。
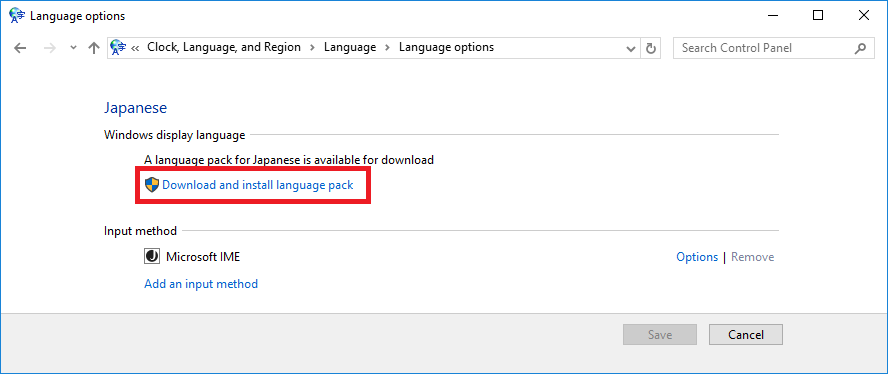
6. 「Options」をクリックする。
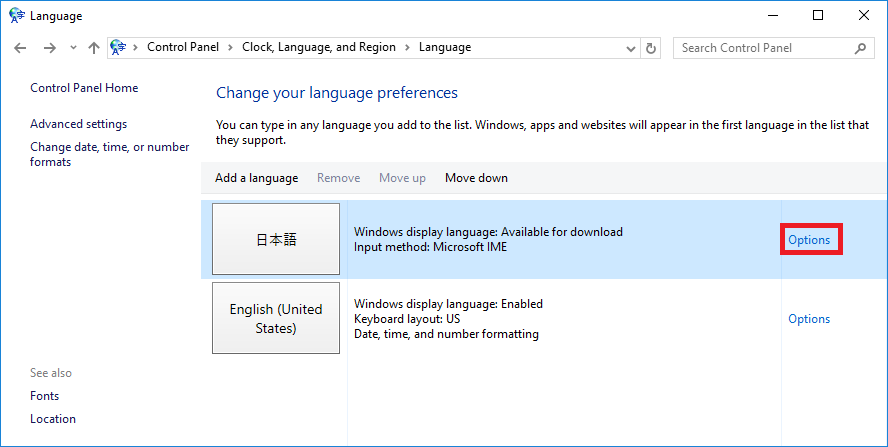
7. 「Download and install language pack」をクリックする。
2. 主な使用場所を日本語に変更
1. Control Panel を開きます。
2.「Clock, Language, and Region」 → 「Region」を開きます。
3. 「Location」タブの「Home location」を「Japan」に変更します。
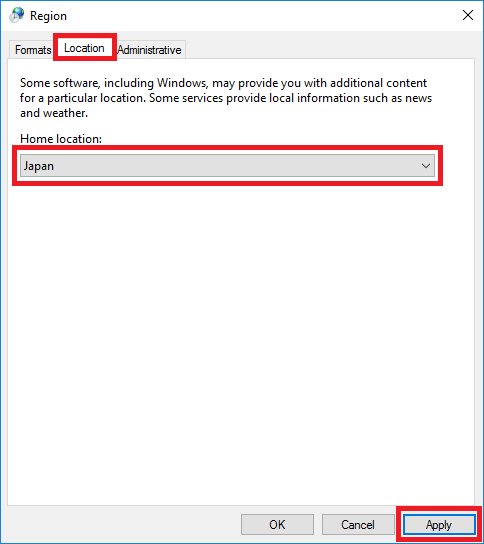
4. 「OK」をクリックして設定画面を閉じます。
3. Unicode対応でないプログラムの言語を日本語に変更
1. Control Panel を開きます。
2.「Clock, Language, and Region」 → 「Region」を開きます。
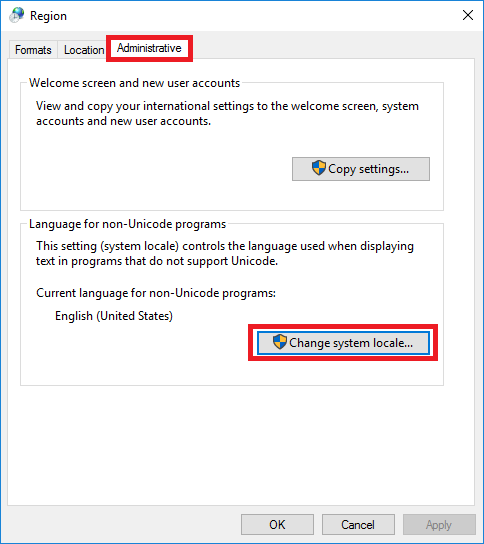
3. 「Administrative」タブの「Change system local…」をクリックします。
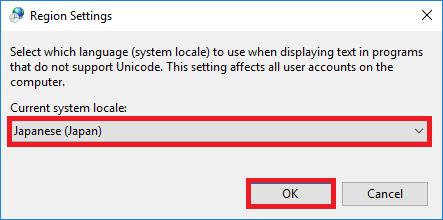
4. 「Current system local」を「Japanese(Japan)」に変更して「OK」をクリックします。
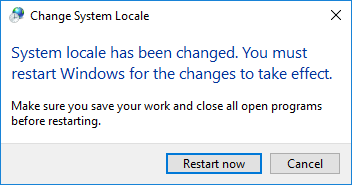
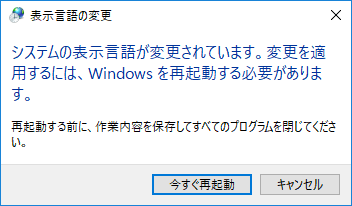
5. 再起動するかどうか聞かれるので「Restart now」をクリックして再起動します。
4. タイムゾーンの変更
1.「コントロールパネル」を開きます。
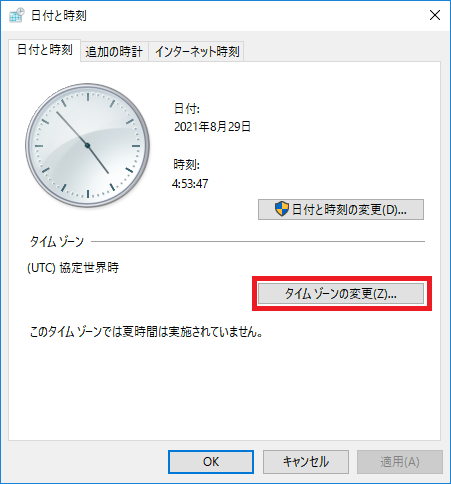
2.「時計、言語、および地域」 → 「日付と時刻」を開きます。
3.「タイムゾーンの変更」をクリックします。
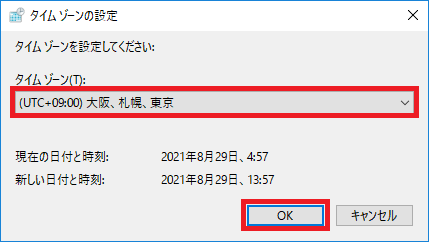
4. タイムゾーンを「(UTC+09:00) 大阪、札幌、東京」に変更し「OK」をクリックします。
5. ようこそ画面と新しいユーザーアカウントの言語設定
1.「コントロールパネル」を開きます。
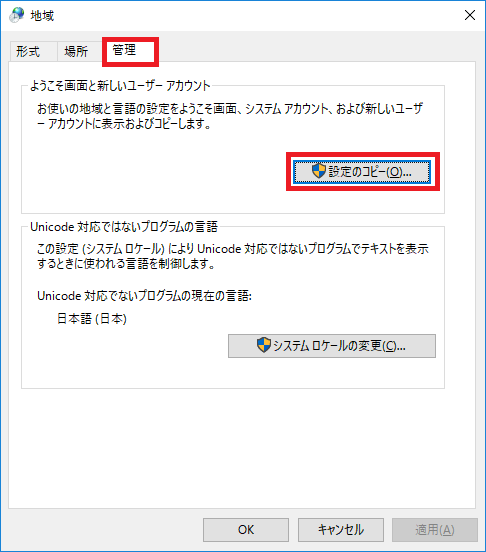
2.「時計、言語、および地域」 → 「地域」を開きます。
3.「管理」タブを開き「設定のコピー」をクリックします。
4.「現在の設定のコピー先」の2箇所にチェックを入れてOKをクリックします。

5. 再起動するかどうか聞かれるので「今すぐ再起動」をクリックして再起動します。
以上。
6. Windows Update の実行
Windows Updateの実行方法については下記を参照してください。
Windows Update を実行しないとローカルグループポリシーやセキュリティポリシーを起動したときにエラーメッセージが発生することがあります。
※参考: リソース ‘$(string.xxxxxx)'(属性 displayName で参照) が見つかりませんでした。 ファイル C:\Windows\PolicyDefinitions\xxxxxx.admx、行 xx、列 xx
以上。
コメント