
本稿ではWindowsのローカルユーザーのパスワードを忘れてしまった場合のリセット方法を説明します。
1. 動作確認済みOS
- Windows Server 2022
- Windows Server 2019
- Windows Server 2016
2. パスワードリセットの仕組み
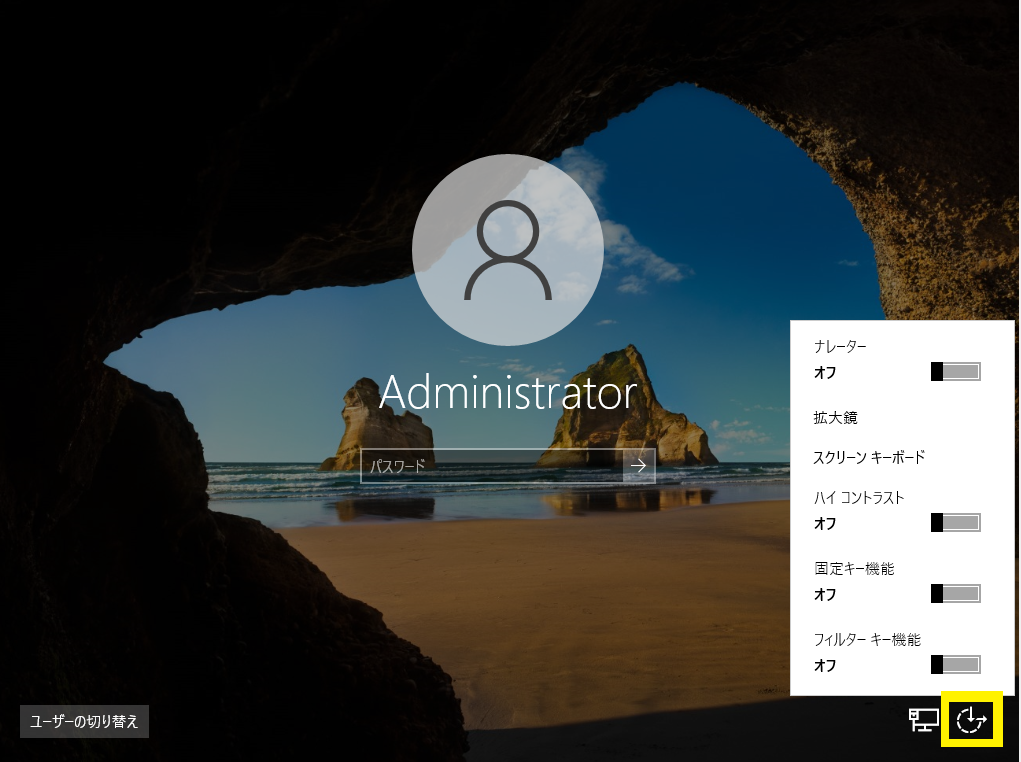
右下のアイコンをクリックすると Utilman.exe が実行され UIに関する設定が表示されます。右下のアイコンに紐づいたコマンドを Utilman.exe から cmd.exe に変更することで、アイコンをクリックするとコマンドプロンプトが起動するように細工をします。
コマンドプロンプトが起動できればあとは自由にパスワードを変更できます。
3. パスワードリセット方法
3.1. パスワードリセット
1. サーバーを再起動して、Windows ブートマネージャーを表示させます。
※参考: Windows ブートマネージャーを表示させる
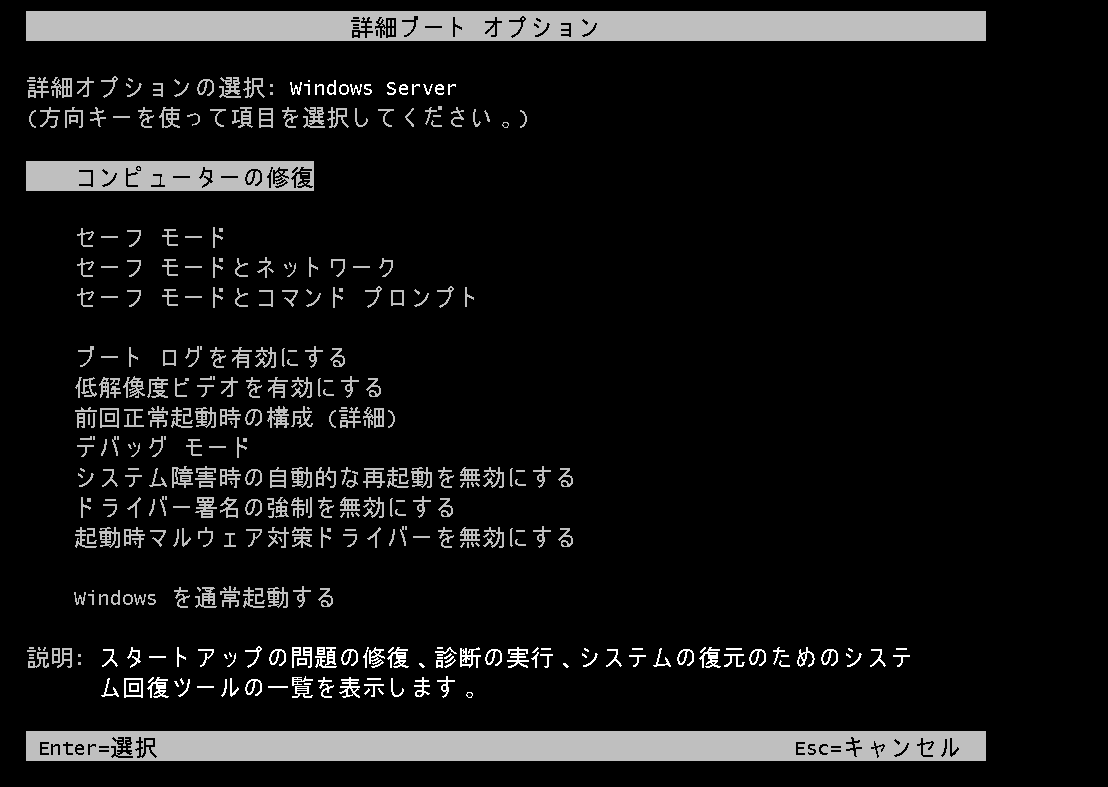
2. Windows ブートマネージャーが表示されたら F8キーを押して「詳細ブートオプション」を表示させます。
3.「コンピューターの修復」を選択します。
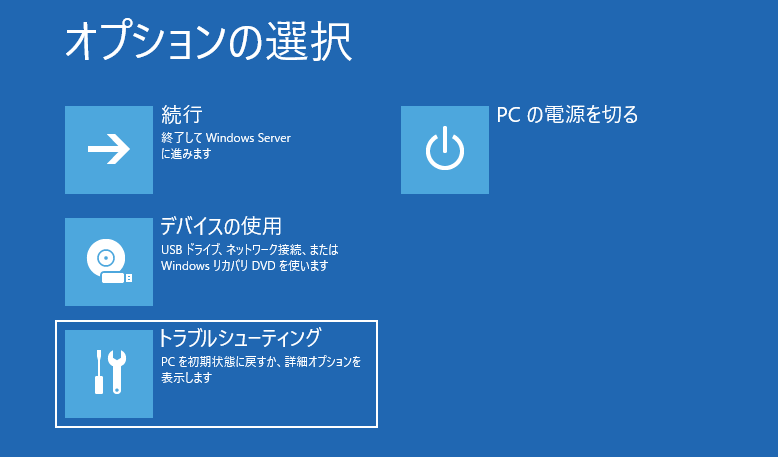
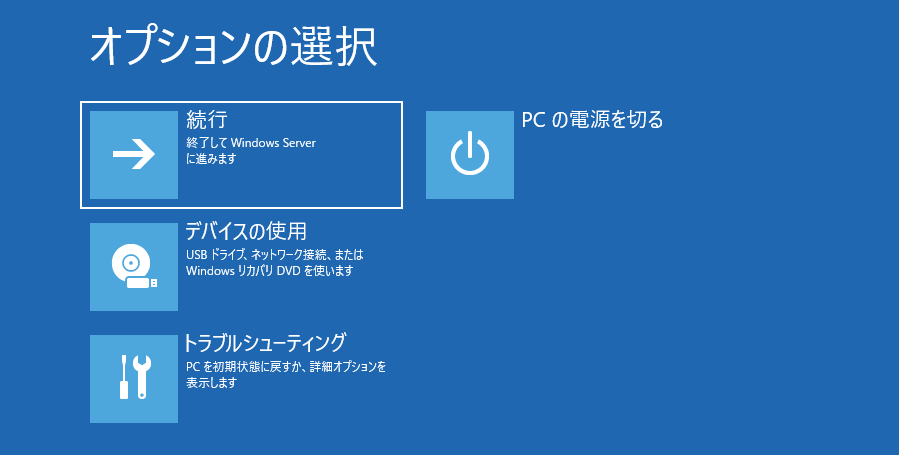
4.「トラブルシューティング」を選択します。
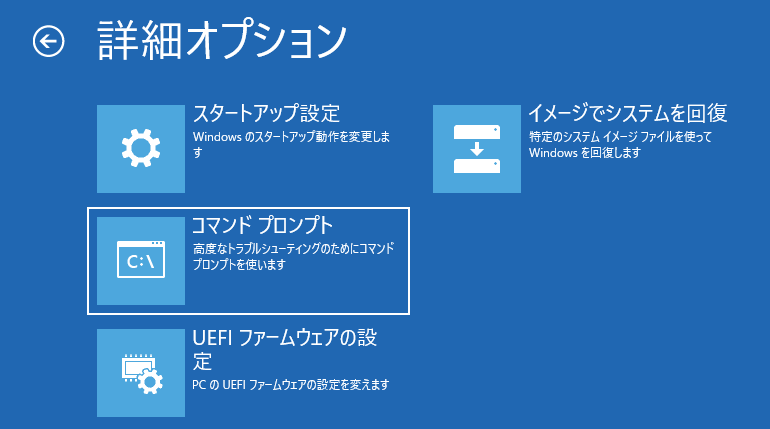
5.「コマンドプロンプト」を選択します。
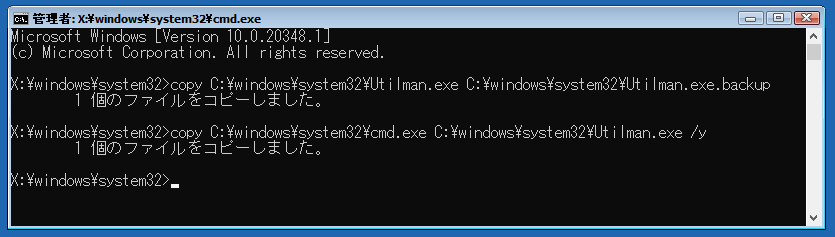
6. 下記の2つのコマンドを実行します。
<1つ目>
Utilman.exe を Utilman.exe.backup のファイル名でバックアップする。
copy C:\Windows\System32\Utilman.exe C:\Windows\System32\Utilman.exe.backup<2つ目>
cmd.exe を Utilman.exe のファイル名でコピーし既存の Utilman.exe ファイルを置き換える。
copy C:\Windows\System32\cmd.exe C:\Windows\System32\Utilman.exe /y実行例
7. コマンドプロンプトを閉じる。
8.「続行」をクリックする。
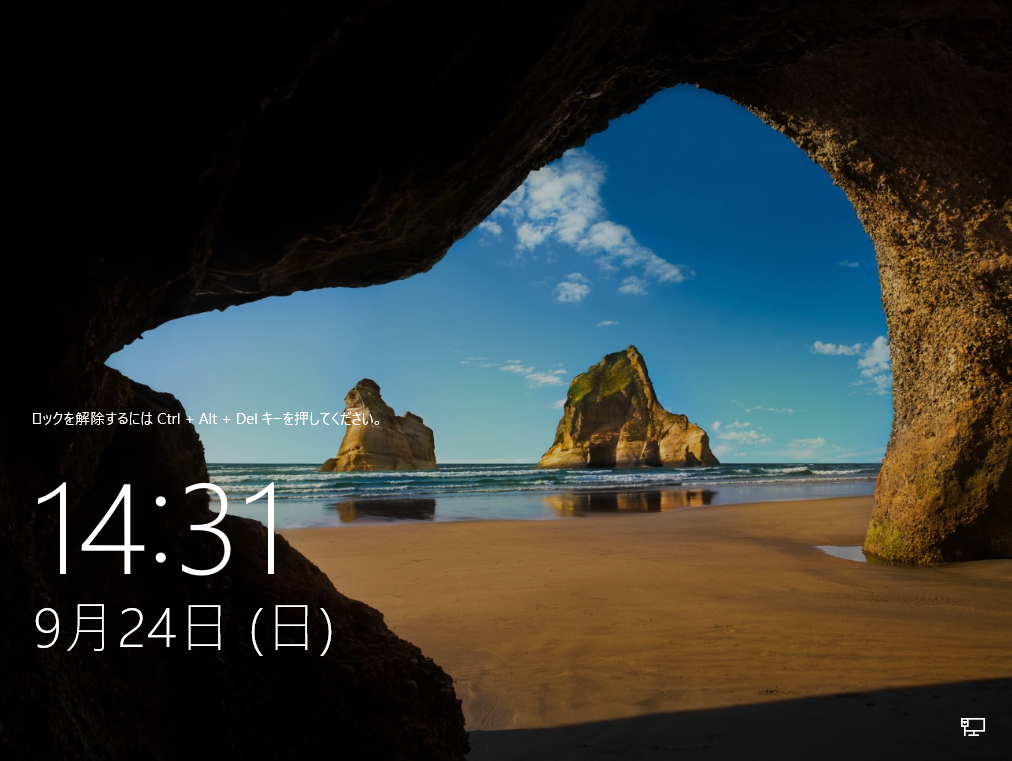
9. Control + Alt + Dell を押下する。
10. 右下のアイコンをクリックする。
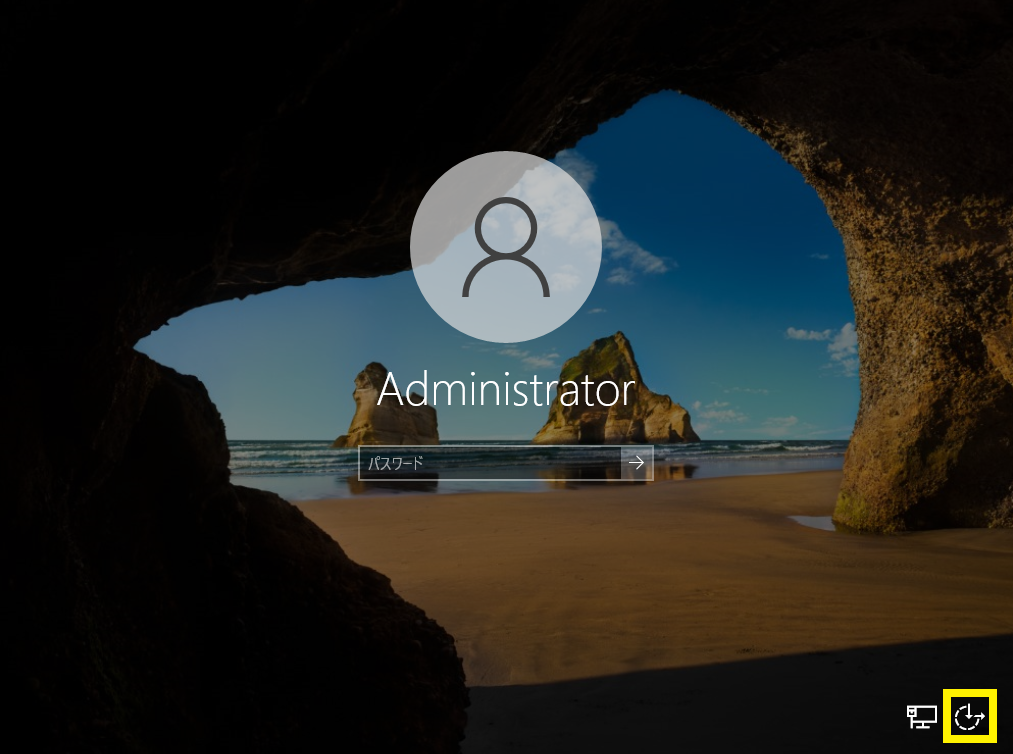
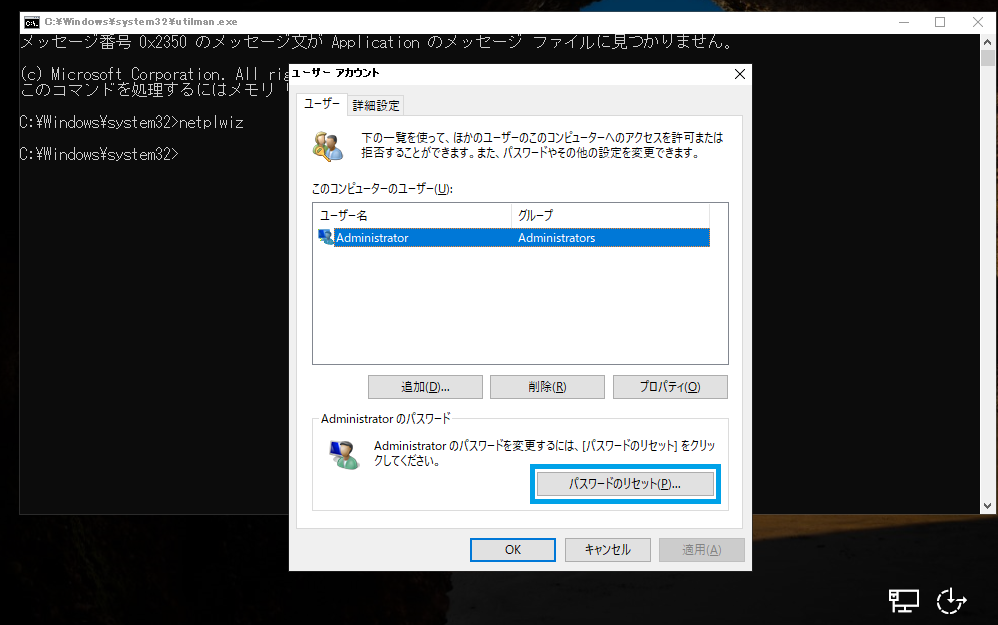
11. コマンドプロンプトが起動するので netplwiz と入力後 Enter を押す。
12.「パスワードのリセット」をクリックする。
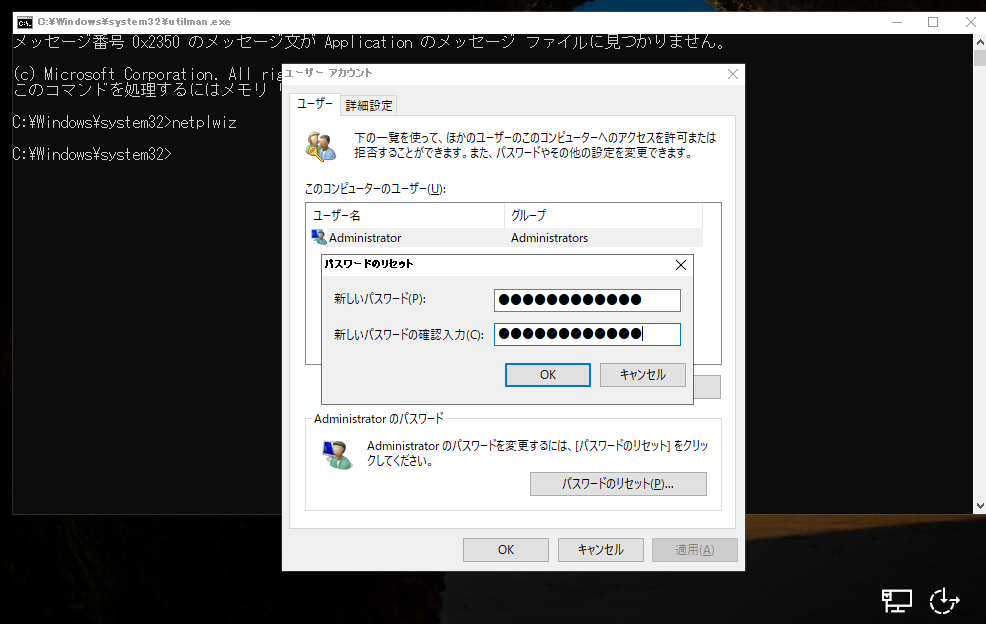
13. 新しいパスワードを入力し「OK」をクリックする。
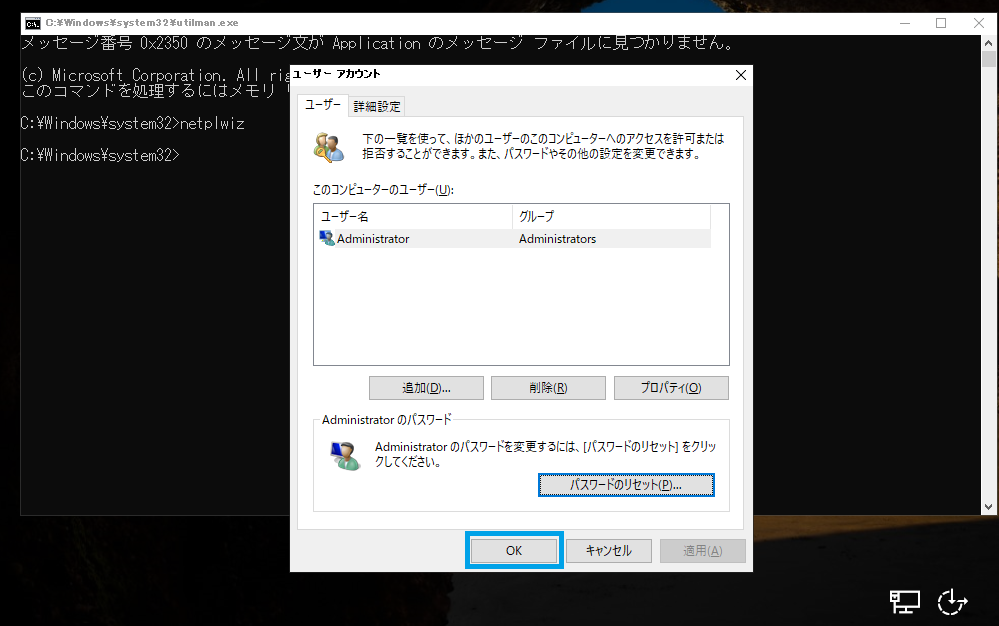
14.「OK」をクリックして画面を閉じる。
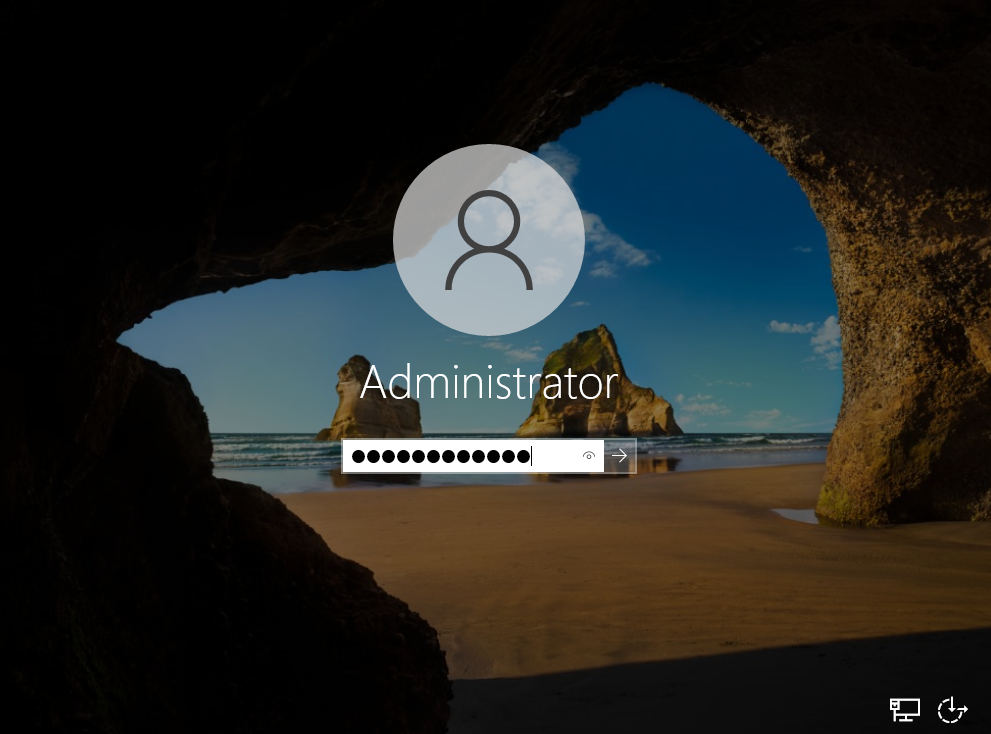
15. 更新したパスワードを入力し、ログインする。
以上。
3.2. 事後作業
3.1. の手順でフィアル名を変更したので元のファイル名に戻す必要があります。ここに手順を記載します。
1. 再度トラブルシューティングの「コマンドプロンプト」を開きます
2. 下記のコマンドを実行します。
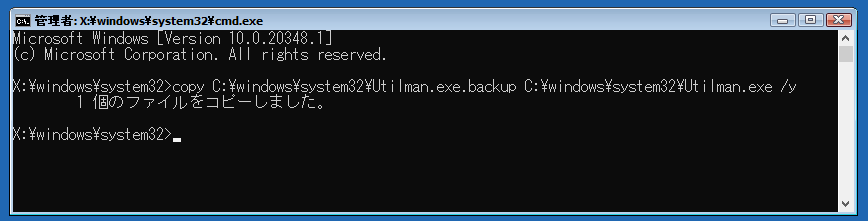
※バックアップしていた Utilman.exe.backup を元のファイル名 Utilman.exe に戻しています。
copy C:\Windows\System32\Utilman.exe.backup C:\Windows\System32\Utilman.exe /y実行例
以上。


コメント