
やるべきことは次の6つ。
1. 日本語のインストールと表示言語の変更
1. コントロールパネルを開きます。
※参考:「コントロールパネル」の開き方
2.「Clock, Language, and Region」-「Language」を開きます。
3.「Add a language」をクリックします。
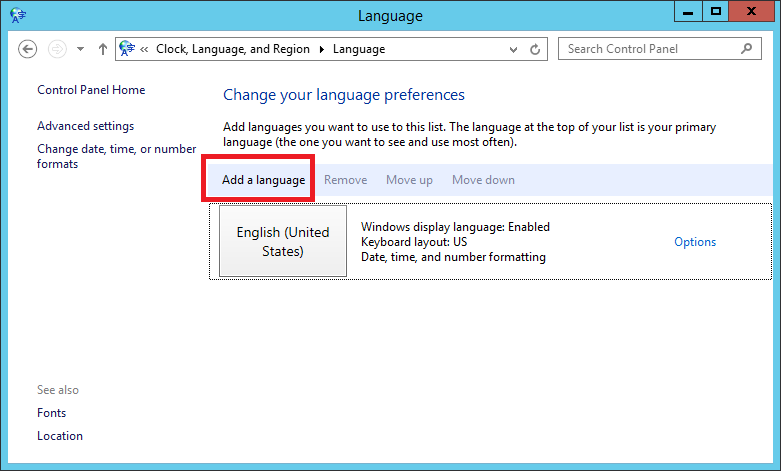
4.「日本語」を選択後「Add」をクリックします。

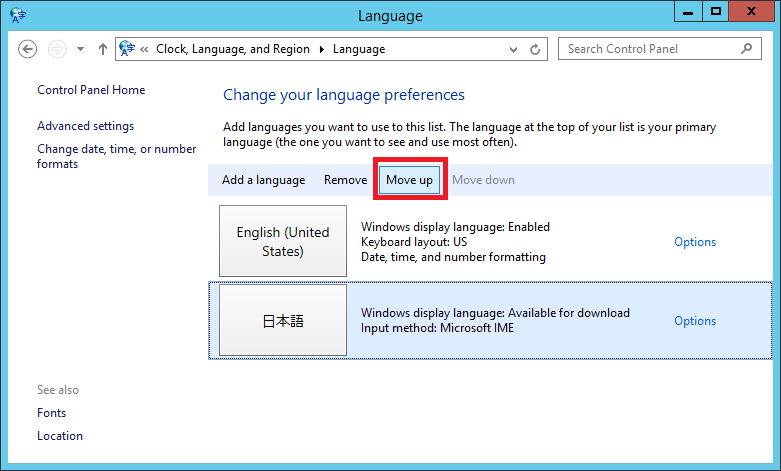
5.「日本語」を選択し「Move up」をクリックします。
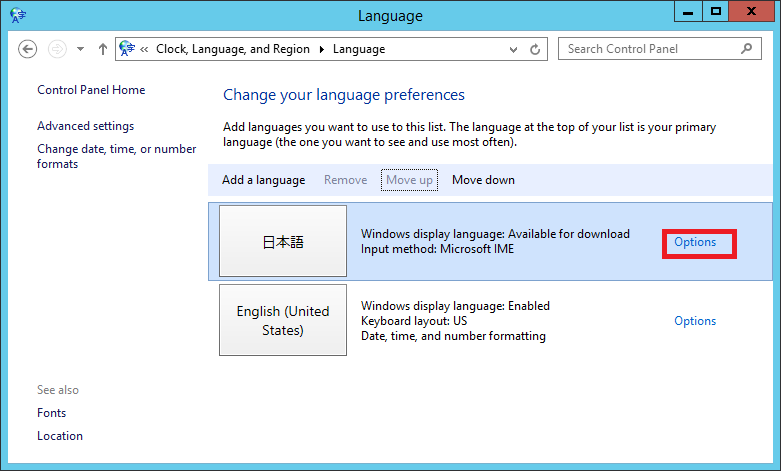
5.「Options」をクリックします。
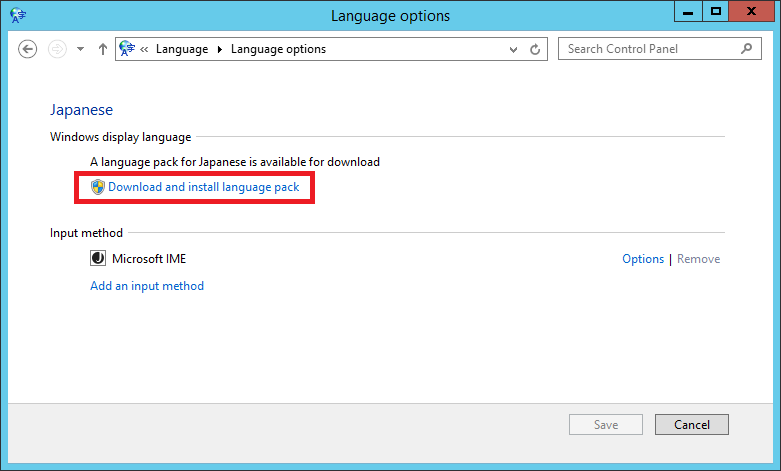
6.「Download and install language pack」をクリックします。
※インストールに時間がかかりますが、気長に待ちましょう
2. 主な使用場所の変更
1. コントロールパネルを開きます。
2.「Clock, Language, and Region」-「Region」を開きます。
3.「Location」タブの「Home location」を 「Japan」に変更し「Apply」をクリックします。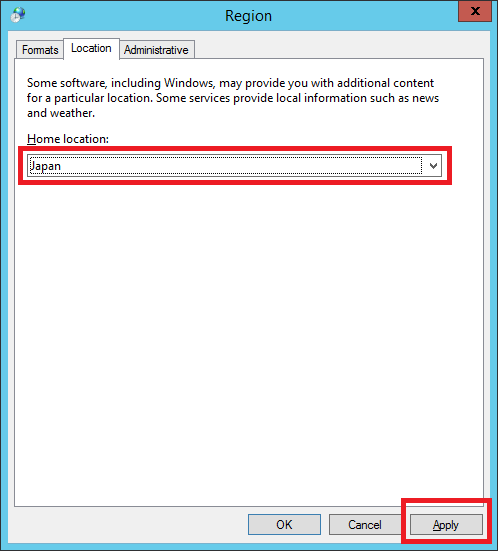
3. Unicode対応でないプログラムの言語の変更
1. コントロールパネルを開きます。
2.「Clock, Language, and Region」-「Region」を開きます。
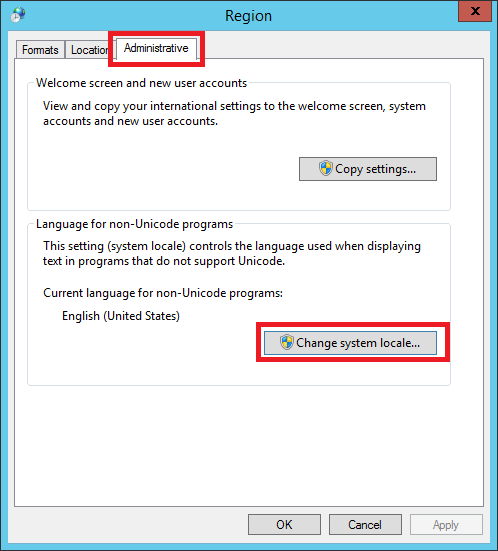
3.「 Administrative」タブを選択し「Change System locale…」をクリックします。
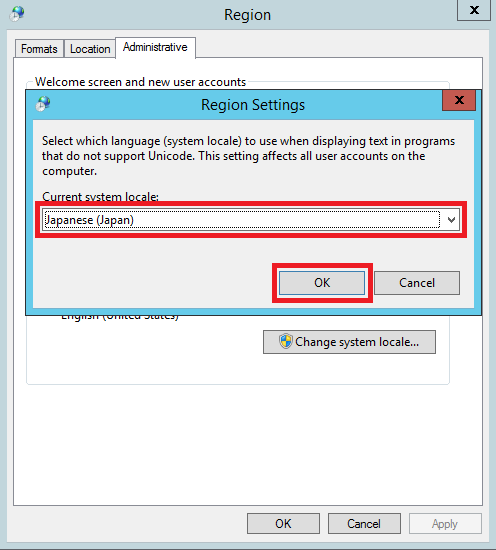
4. 言語を「Japanese(Japan)」に変更します。
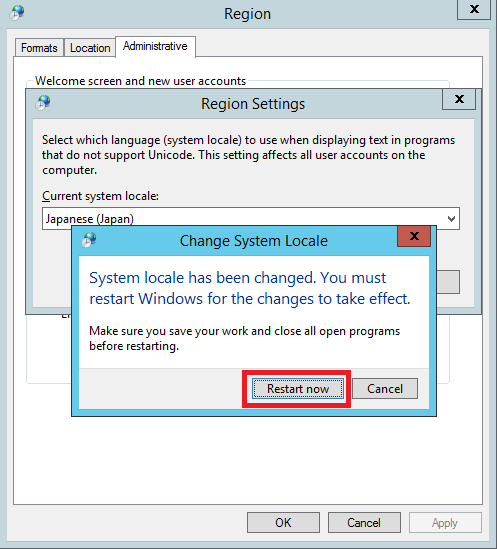
5. 再起動を求められるので「Restart now」をクリックして、システムを再起動します。
4. タイムゾーンの変更
1. コントロールパネルを開きます。
2.「 時計、言語、および地域 」-「日付と時刻」を開きます。
3.「 タイムゾーンの変 」をクリックします。
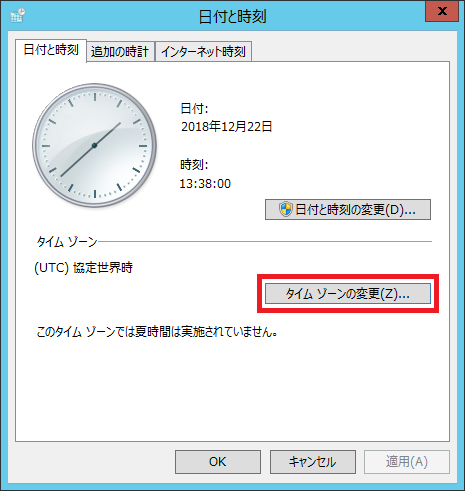
4.「(UTC+09:00)大阪、札幌、東京」に変更します。

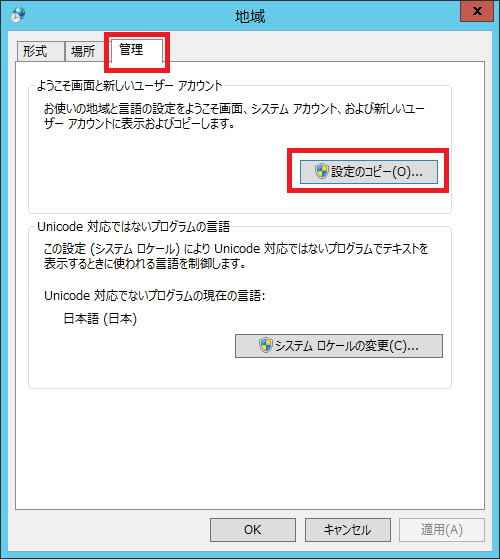
5. ようこそ画面と新しいユーザー アカウントの設定の変更
1. コントロールパネルを開きます。
2.「 時計、言語、および地域 」-「地域」を開きます。
3.「 管理 」タブを選択し「設定のコピー」をクリックします。
4. 以下2つにチェックを入れます。
・ようこそ画面とシステムアカウント
・新しいユーザー アカウント

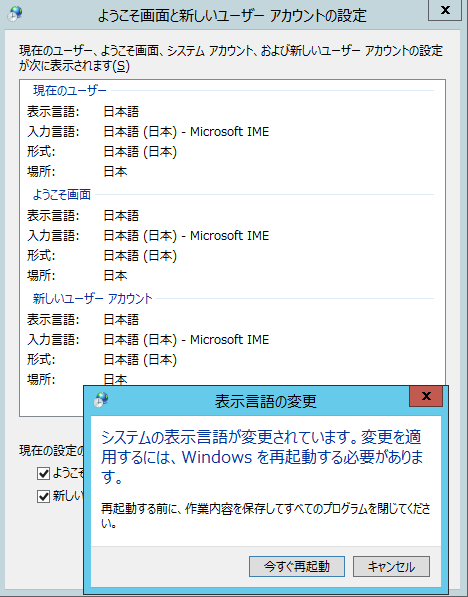
5. OSを再起動します。
6. Windows Update の実行
このままだと「ローカル グループポリシー エディター」を起動したときにエラーが発生する可能性があります。下記の記事を参照して KB3012702 の適用を実施してください。
※参考:【Windows Sever 2012/2012 R2】リソース ‘$(string.xx)'(属性 displayName で参照) が見つかりませんでした
※参考:ローカル グループポリシー エディターの開き方
以上。

コメント