
1. 確認済みOS
- Windows Server 2016
- Windows Server 2019
- Windows Server 2022
2. WSUS の導入手順
1. WSUS の インストール
1. サーバーマネージャーを起動します。
※参考: 「サーバーマネージャー」の開き方
2.右上の「管理」より「役割と機能の追加」を選択します。

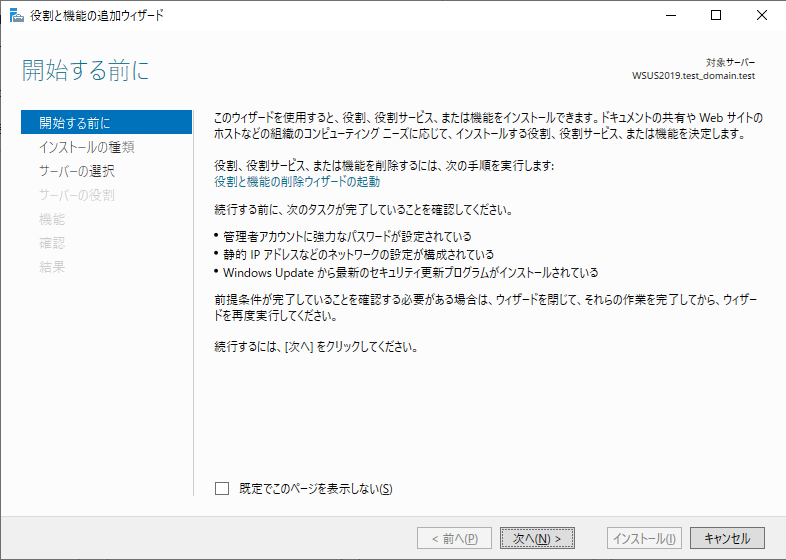
3.「次へ」をクリックします。
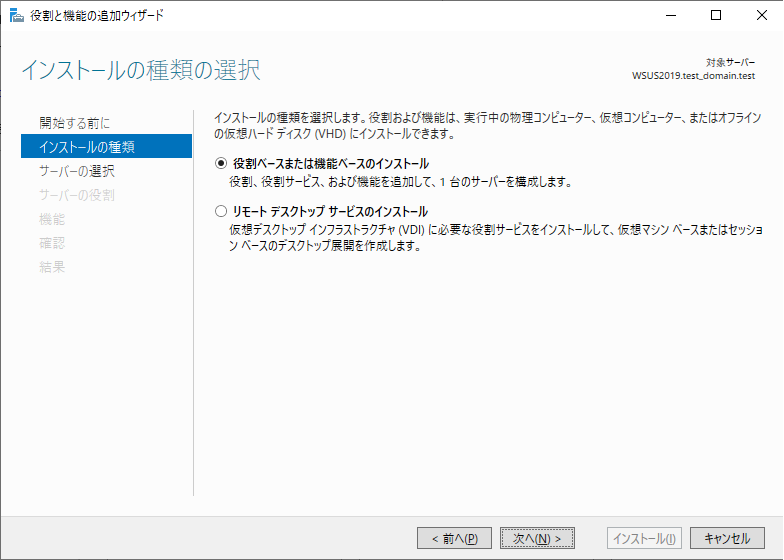
4.「役割ベースまたは機能ベースのインストール」を選択し「次へ」クリックします。
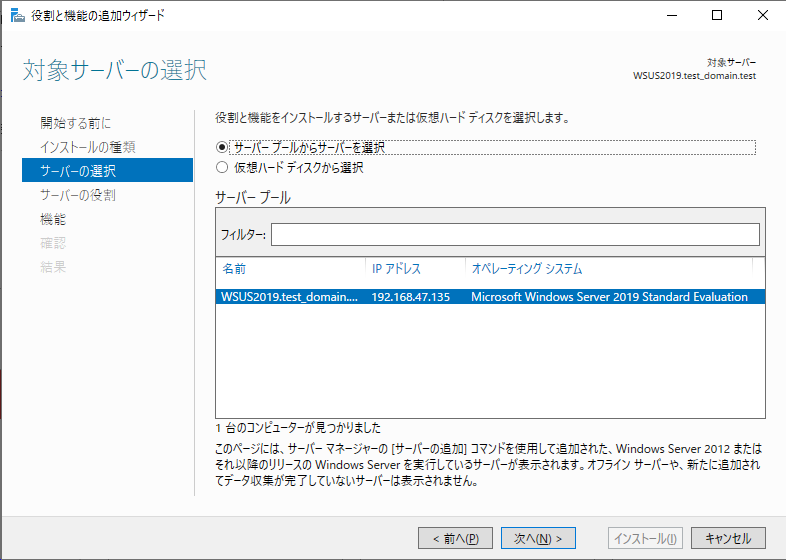
5. そのまま「次へ」をクリックします。
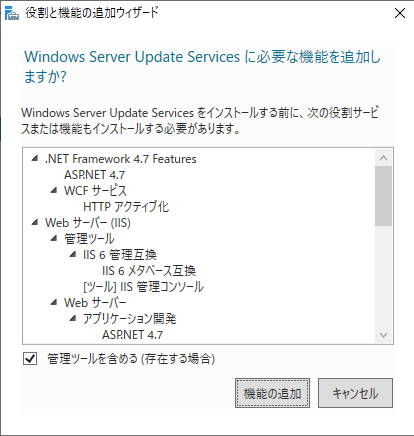
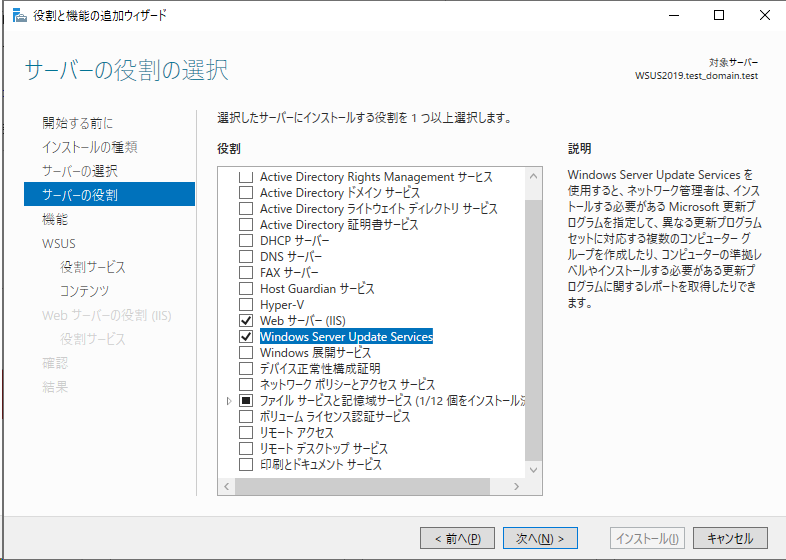
6.「Windows Server Update Services」にチェックを入れます。

7.「管理ツールを含める」にチェックが入っていることを確認し「機能の追加」をクリックします。
8.「次へ」をクリックします。
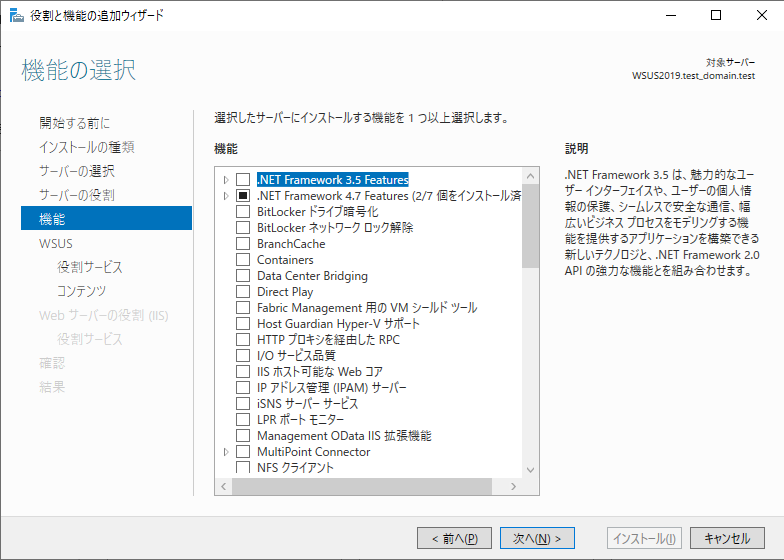
9.「機能の選択」画面でそのまま「次へ」をクリックします。
10.「次へ」をクリックします。
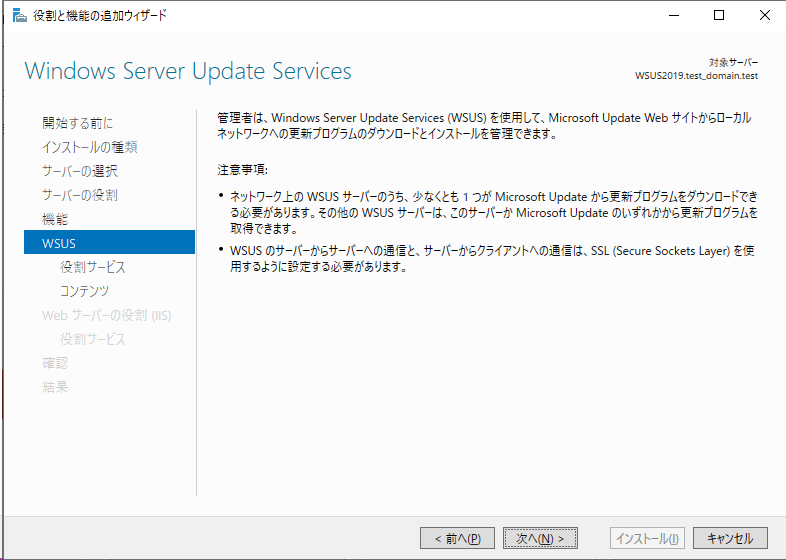
11. そのまま「次へ」をクリックします。
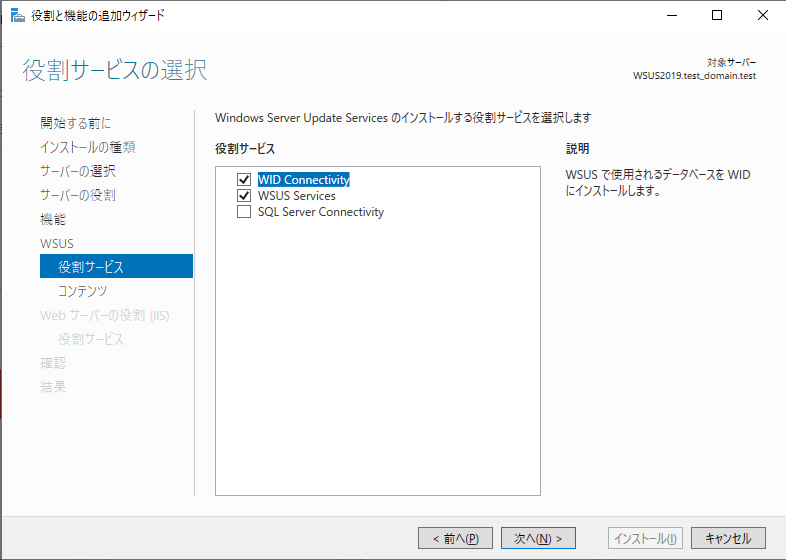
12. ダウンロードした更新プログラムを保存する場所を指定します。この例では C:\WSUS としています。
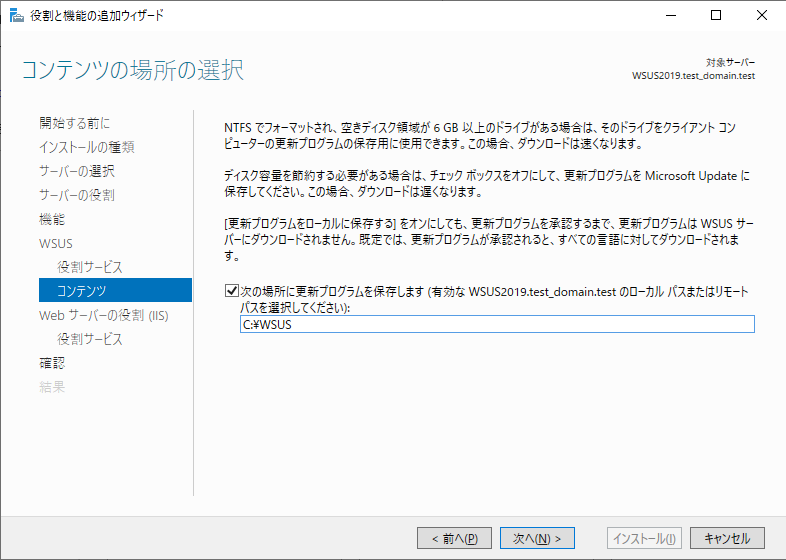
13. そのまま「次へ」をクリックします。
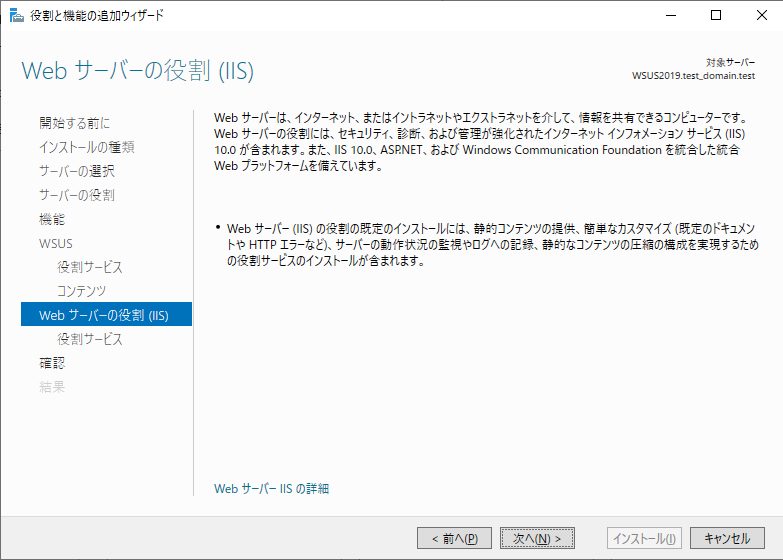
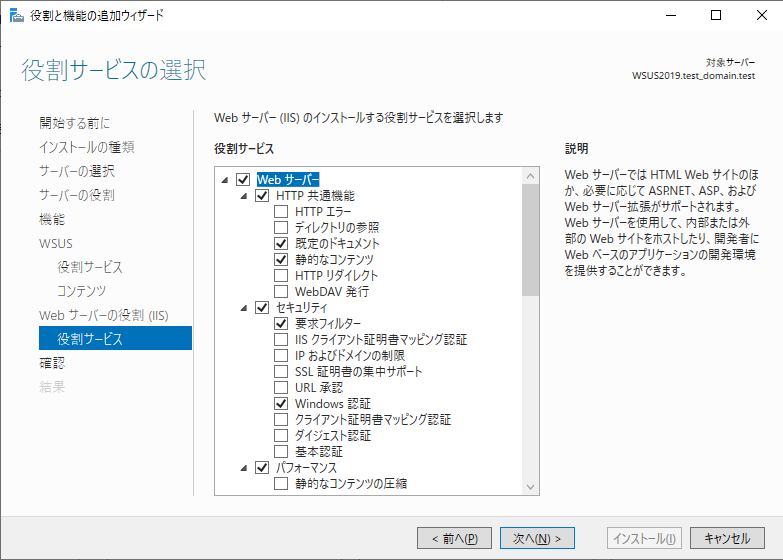
14. 変更せず、そのまま「次へ」をクリックします。
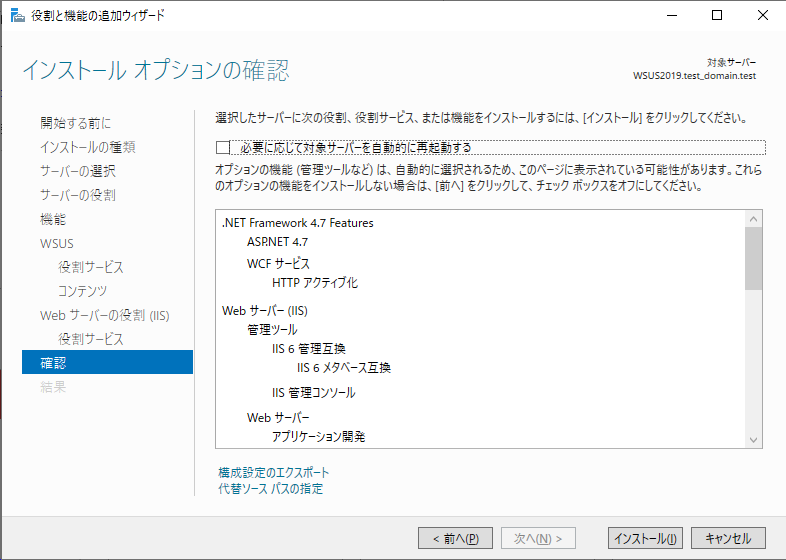
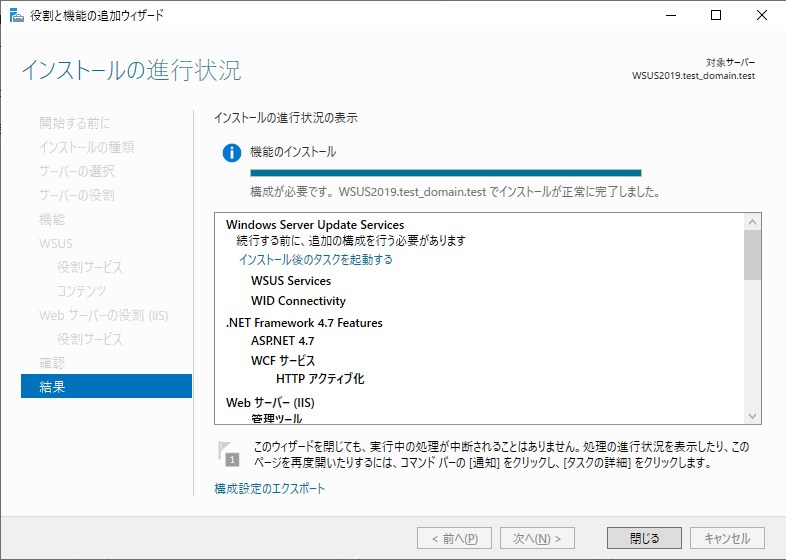
15.「インストール」をクリックします。
16.「閉じる」をクリックします。
以上
2. 展開後の WSUS の構成
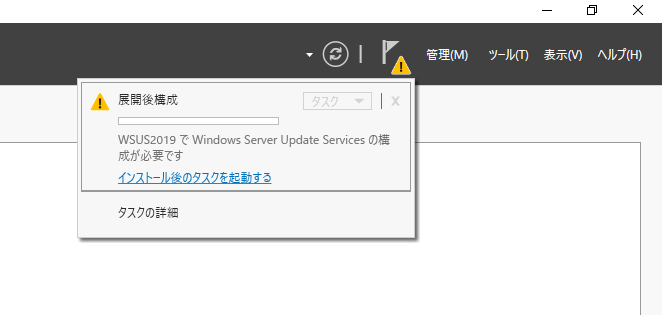
1.サーバーマネージャー の右上の旗から「インストール後タスクを起動する」をクリックします。
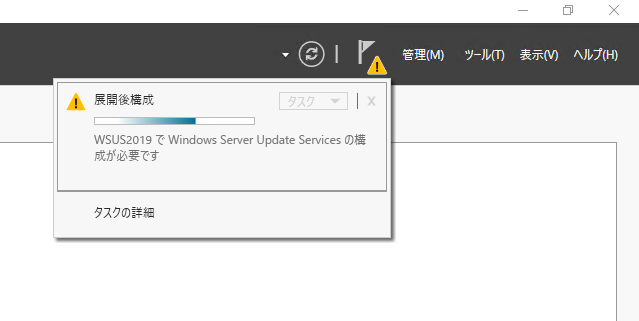
2. 展開後の構成が始まるので待機します。少々時間がかかります。
3. 問題なく完了したことを確認します。

以上。
3. WSUS の初期セットアップ
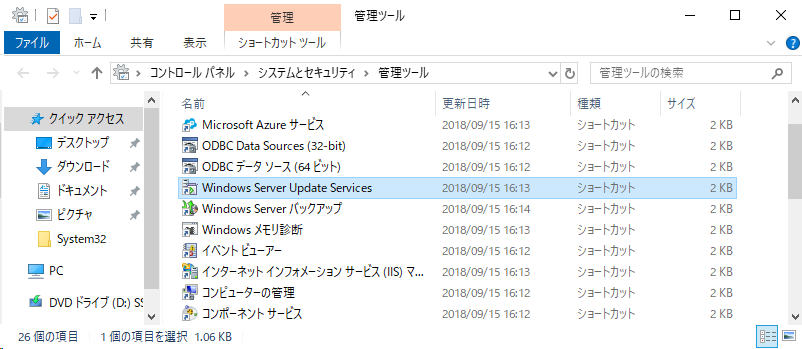
1.「管理ツール」を起動します。
※参考:「管理ツール」の開き方
2.「Windows Server Update Services」をクリックします。
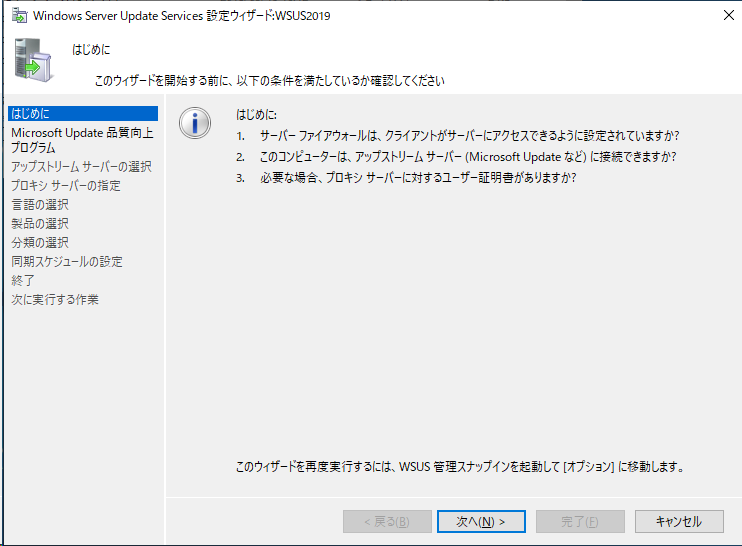
3.「次へ」をクリックします。
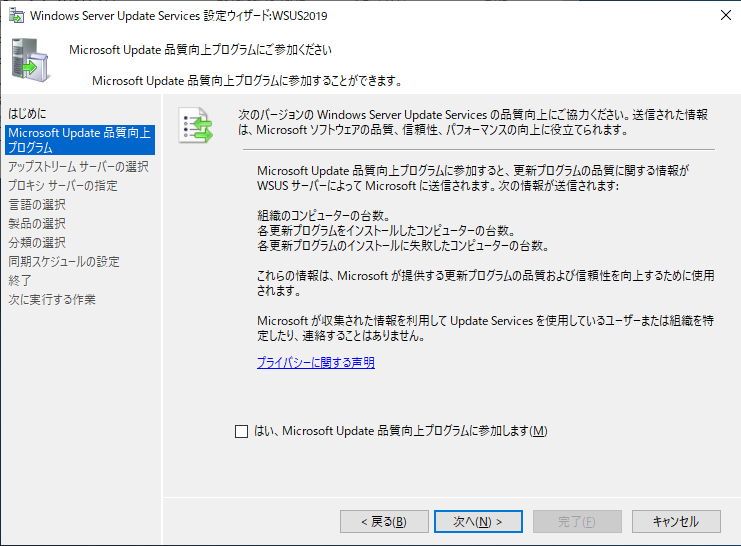
4.「次へ」をクリックします。
※品質向上プログラムに参加するメリットはないのでチェックをオフにすることをおすすめします。
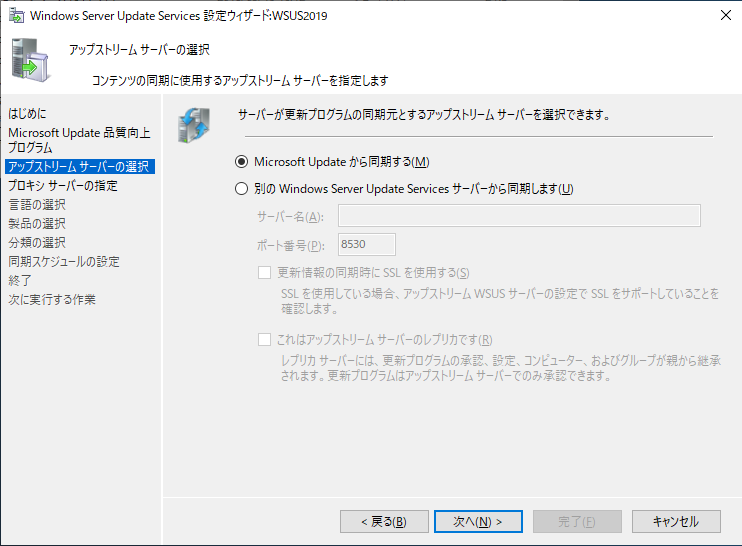
5. アップストリームサーバーを指定して「次へ」をクリックします。
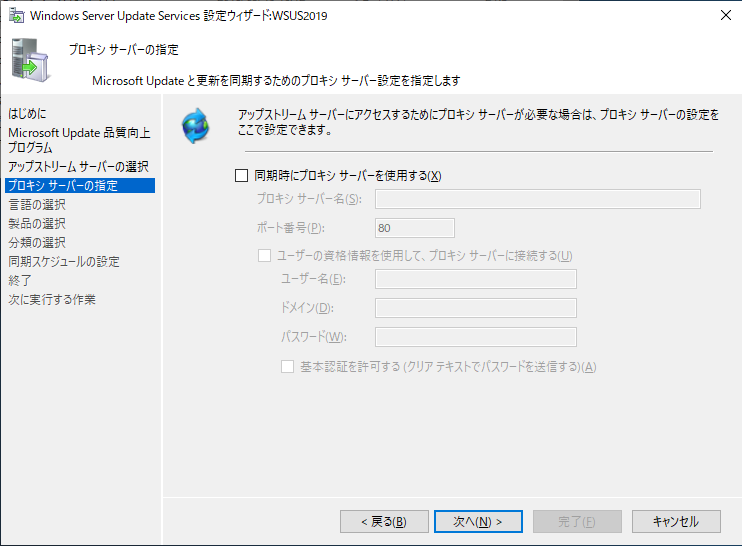
6. 必要に応じてプロキシサーバーを指定し「次へ」をクリックします。
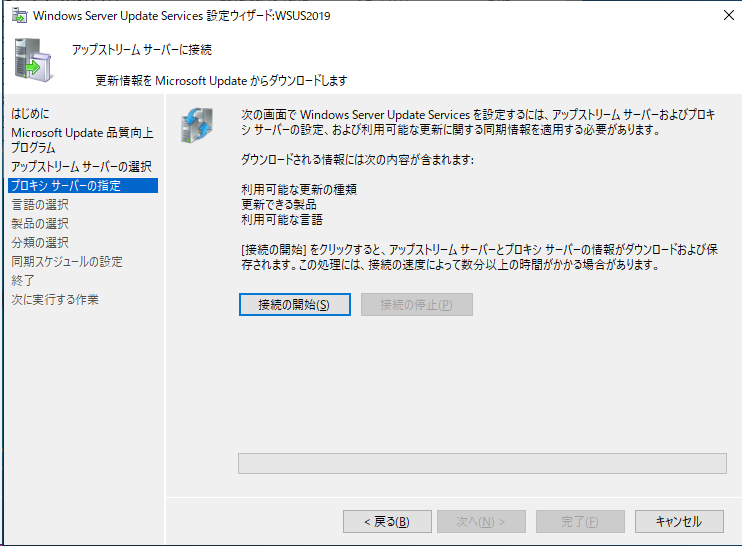
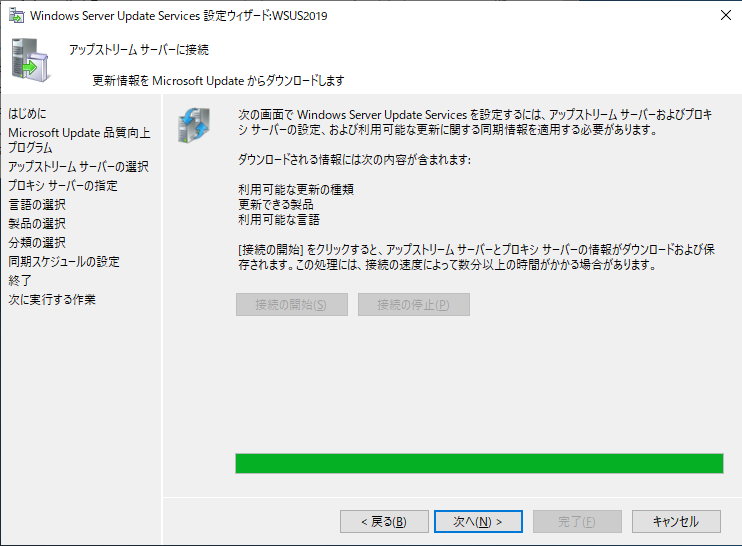
7.「接続の開始」をクリックします。
8.「次へ」をクリックします。
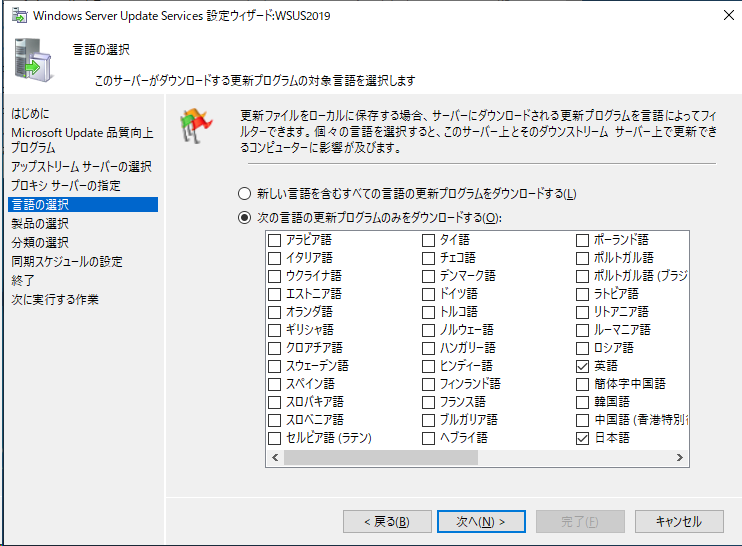
9. 必要な言語を選択して「次へ」をクリックします。
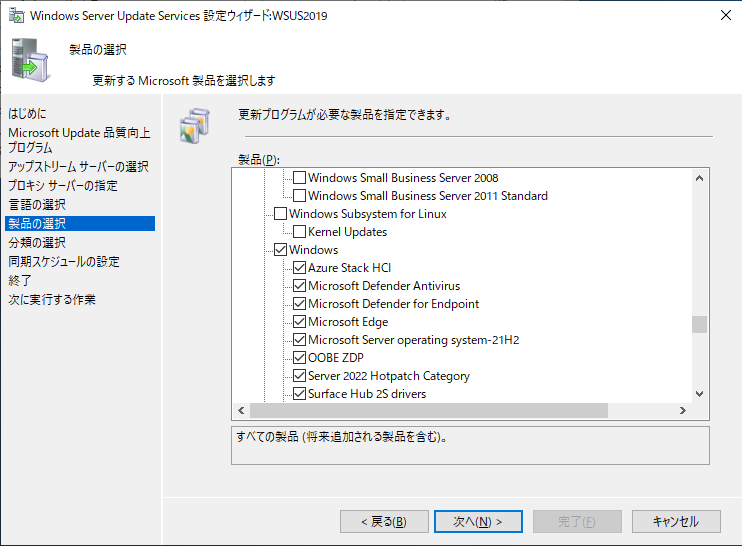
10. 更新プログラムが必要な製品を選択し「次へ」をクリックします。
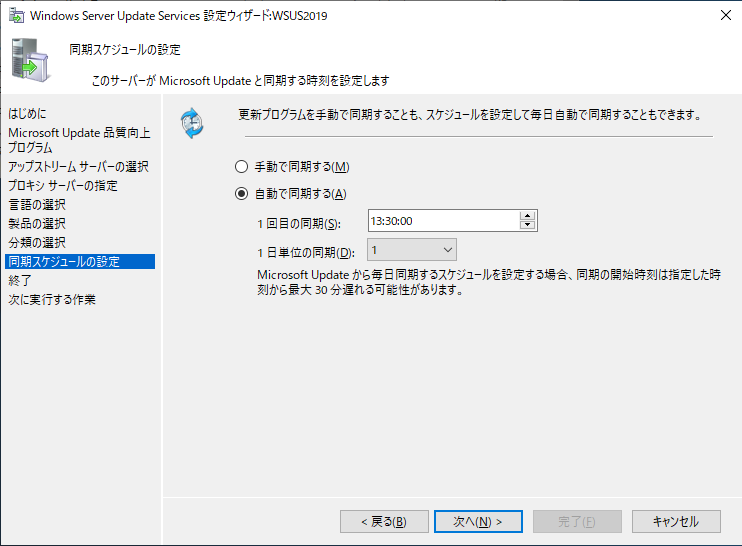
11. 同期の設定をして「次へ」をクリックします。
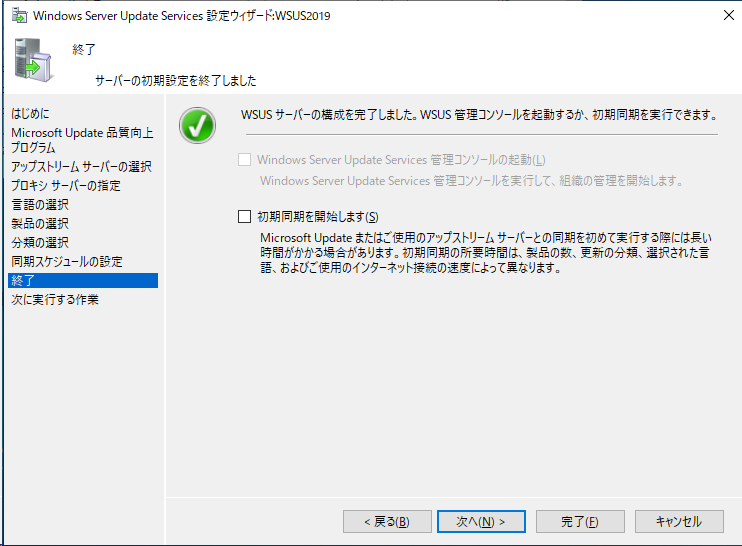
12. 初期同期をおこなうか選択して「次へ」をクリックします。
13.「完了」をクリックします。
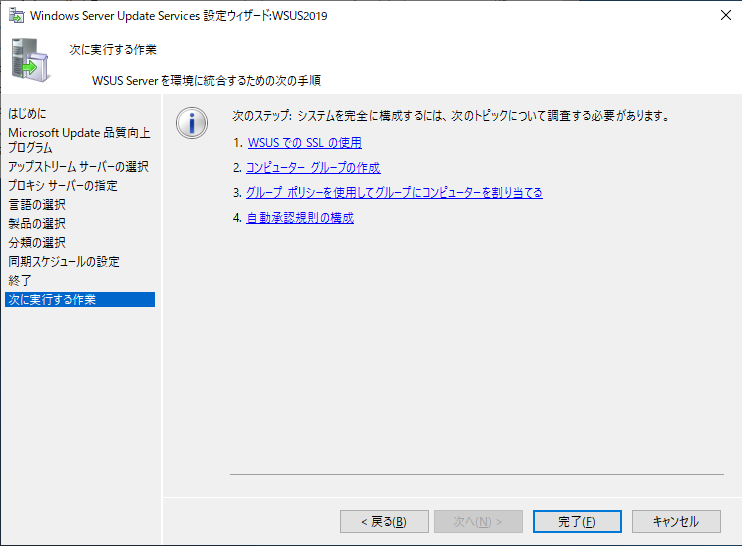
以上。完了したら「Windows Server Update Services」を起動します。

コメント